I am here to update you on some goings on and to share an epic adventure.
OK. It's not so epic at all. It was fun and a tad frustrating though. I'll tell you all about it.
I have tried this before, but decided I would try it on camera for you all. That in itself was an adventure. I have shared with you here before that I am learning to make videos. The struggle is real people. I am middle aged and this doesn't just happen as easily as it used to. ;-) Also, some software and apps are not as obvious to the user as the creators think.
So my adventure begins with me planning way ahead to use my phone. It is an iPhone 4s so it's kinda old and slow. Also it has very little storage. Newer Apps and such take up more space and memory so my little phone sometimes coughs and freezes. I began by deleting a ton of apps, photos, music, etc to make room. A TON. I downloaded the iMovie app to edit my videos with. This took forever. I filmed a long video and then when I went to edit I found out I could not speed up any parts. My phone is too old. WHAT?! I thought about it for awhile and decided on the following movie trailer format. It does not show everything I originally planned to show, but you get the idea.
Please take a gander.
Did you laugh a little? I hope so. I had to make it a bit funny after all my work that I had to scrap. ;-)
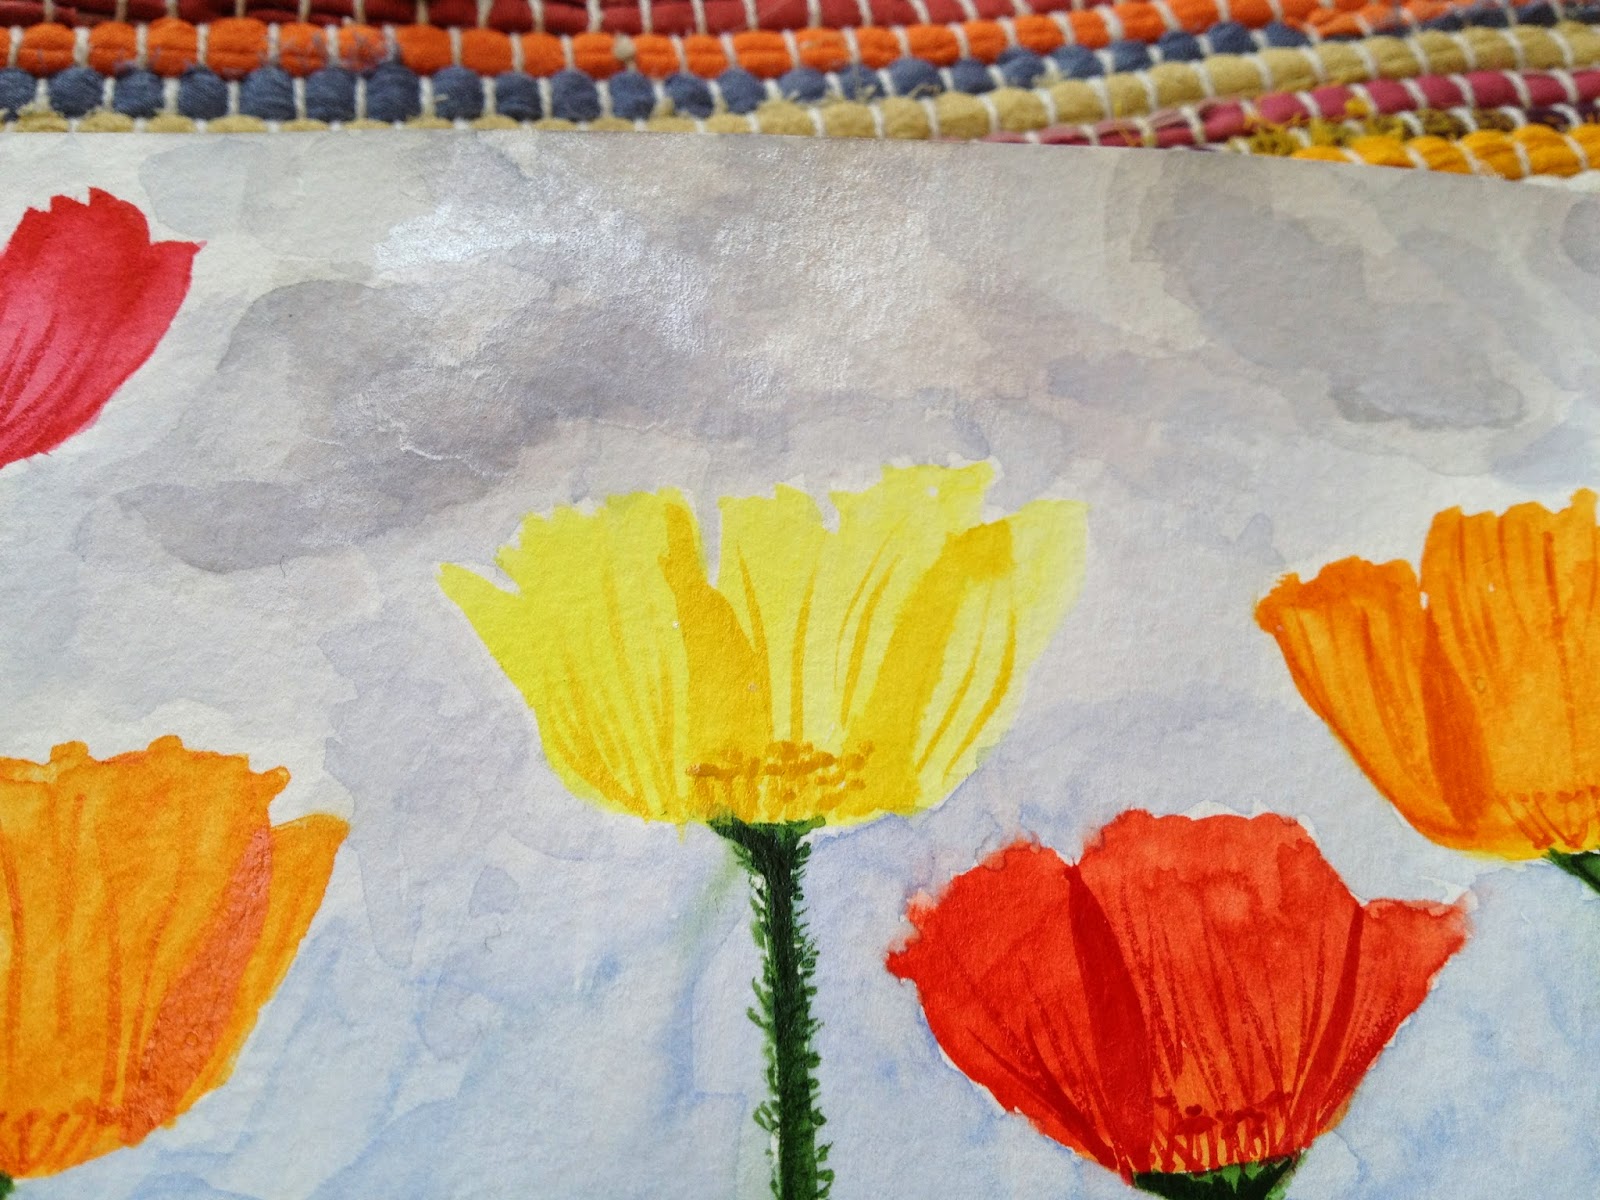
So I want to film more videos about experimenting with different arts and crafts supplies. This first one shows how you can use canned air, which you may already have in your home, office or garage. You need to hold it just right and finesse the placement of the nozzle. Once you experiment a little on a scrap piece of paper you will quickly find the sweet spots. I cannot afford to purchase the Copic air system or even the canned air and marker holder system. This was a way I could use this technique,
but use what I had on hand. I did run out of canned air just as I was working on almost finishing the sky. I will say it didn't look the way I planned, but still looks good. There are clouds in a spring sky, right?
Thanks for stopping by to take a look at my video. I have some ideas of other supplies I would like to use, but if you have a, "what if" in your mind I would love for you to leave it in the comments.
Some more happenings around here are that I have opened an ETSY shop again. The address is here: https://www.etsy.com/shop/jessanotherhess?ref=hdr_shop_menu
I have also opened a Society6 shop where you can buy prints of a couple of my paintings. The address for that is here:
https://society6.com/jessanotherhess/prints
If you would like to stop in and take a peek I would love that. As always you can also follow me on Instagram, Facebook, Pinterest and YouTube.
I hope to see you around soon. Thank you for stopping in.


